I am a New user
Your account
Want to watch
and many others, no matter where you are?
START YOUR
14-DAY FREE TRIAL
Simple
Telly gets you video access to Video On Demand services from all around the world.
Start your 14-day free trial using just your e-mail!
Devices you can use
COMPUTER
MOBILE
CONSOLE
SMART TV
ROUTER
MEDIAPLAYER
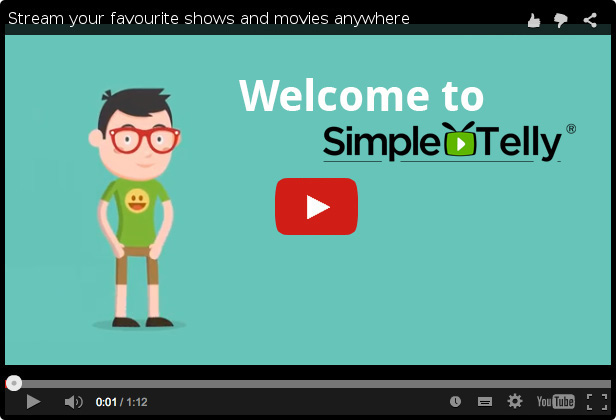
How does it work?
Very easy. Watch this video.
Services we support
You can watch them wherever you are.
All
USA
UK
France
Australia
Others
more »
more »
more »
more »
more »
more »
START YOUR 14-DAY FREE TRIAL NOW
Sign up here
After your Free Trial you can subscribe for just $4/month
What's new this month?
American Psycho
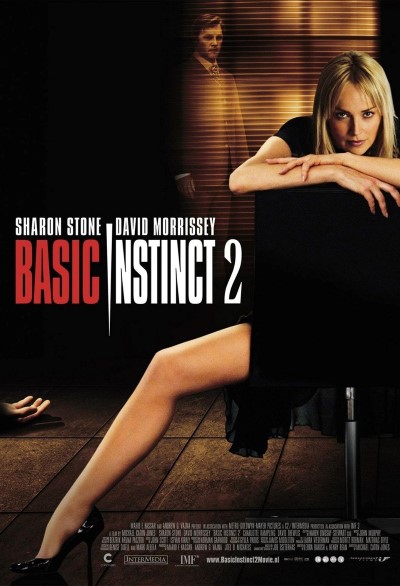
Basic Instinct 2
Eight Men Out
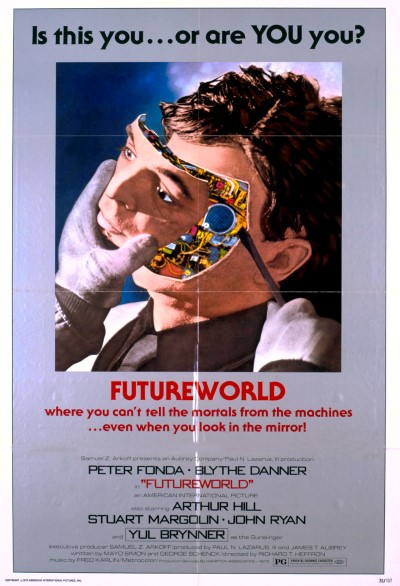
Futureworld
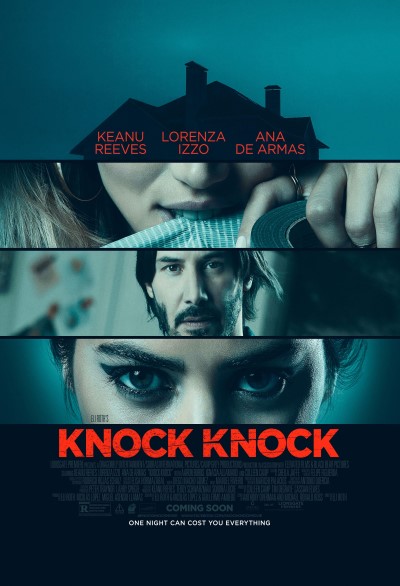
Knock Knock
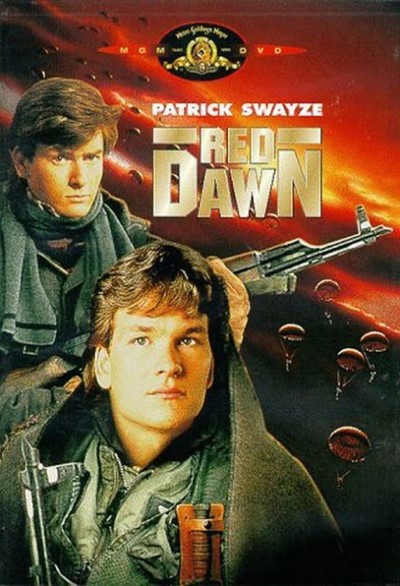
Red Dawn
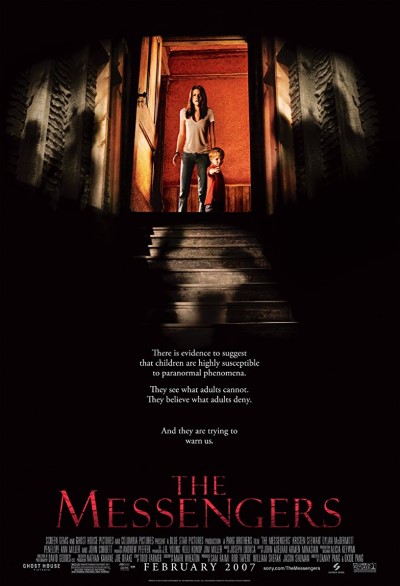
The Messengers
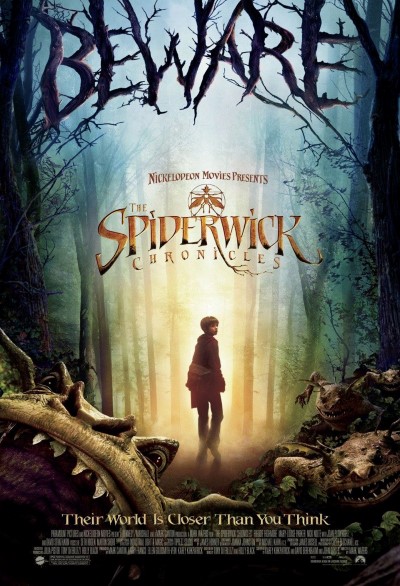
The Spiderwick Chronicles
Butterfly effect 3
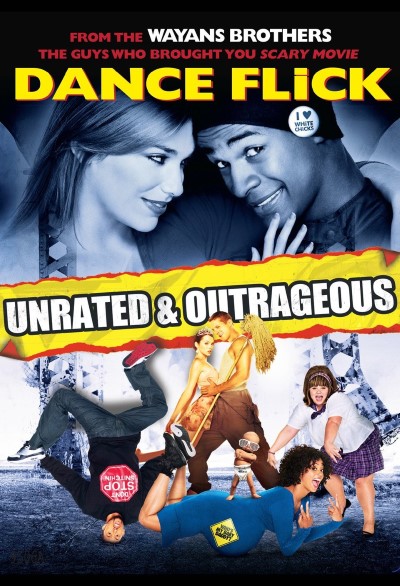
Dance Flick
Dirty Dancing
Madea Goes to jail
Sacred Flesh
The Magnificent 7
Wedding Crashers
Wonder Woman
Poldark
Ripper Street
Top of the lake China Girl
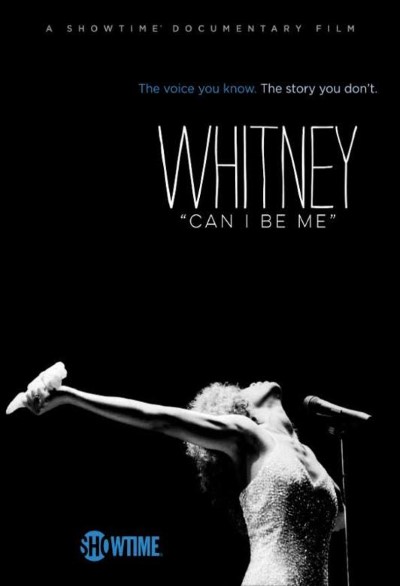
Whitney
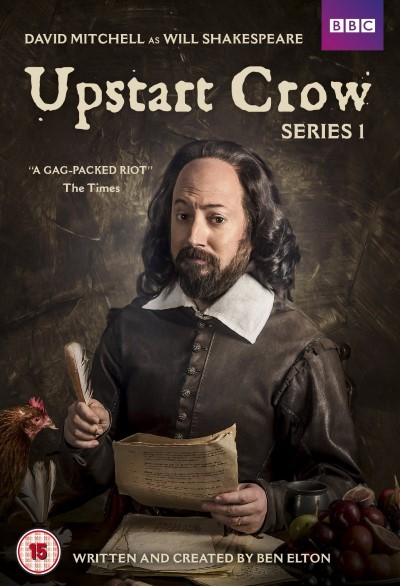
Upstart Crow
Doctor Foster
Fake or Fortune
 and many others, no matter where you are?
 Telly gets you video access to Video On Demand services from all around the world.